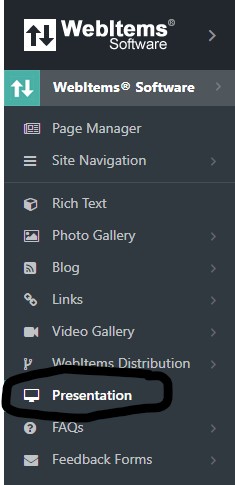
To add a new Presentation select the Presentations Categories from the left hand menu:
Then click on the "+" button in the top right hand corner:
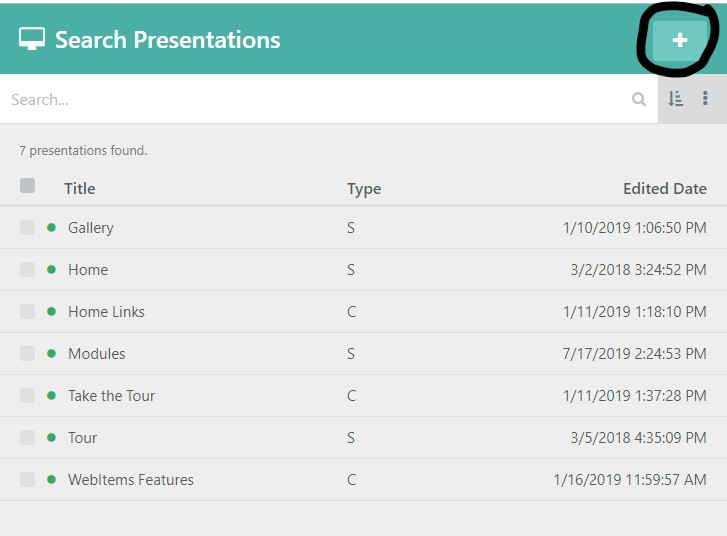
This will take you to the Add Presentation Page.
The Add Presentation Page will have many elements. On this page you can turn the active status of this content off or on:
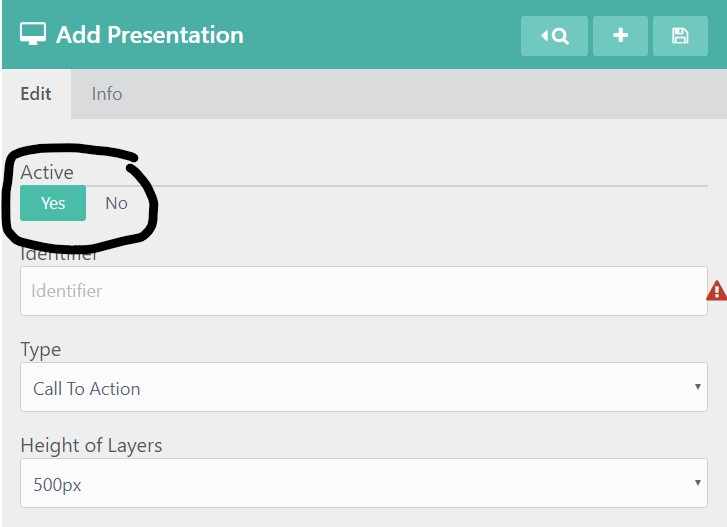
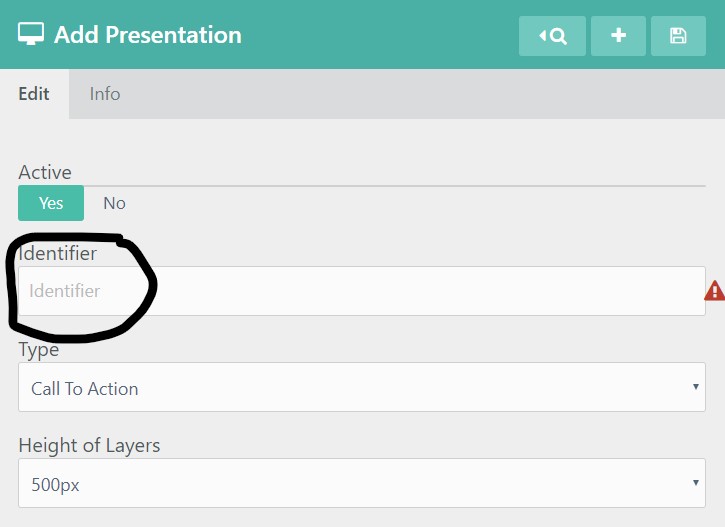
You will create an Identifying Title for your Presentation:
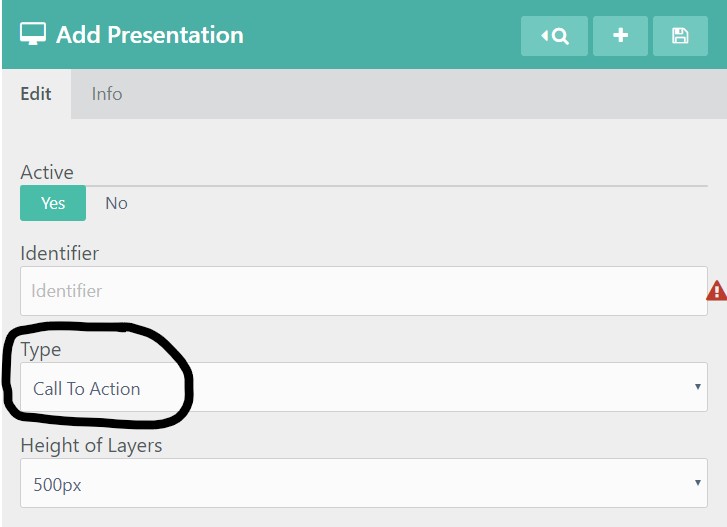
You will select the type of Presentation, either a Call To Action or a Slideshow:
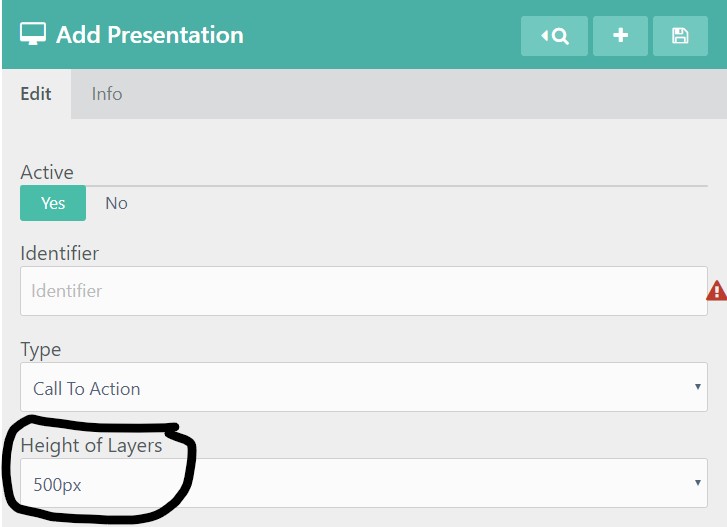
Then you will set the Height for the Layers:
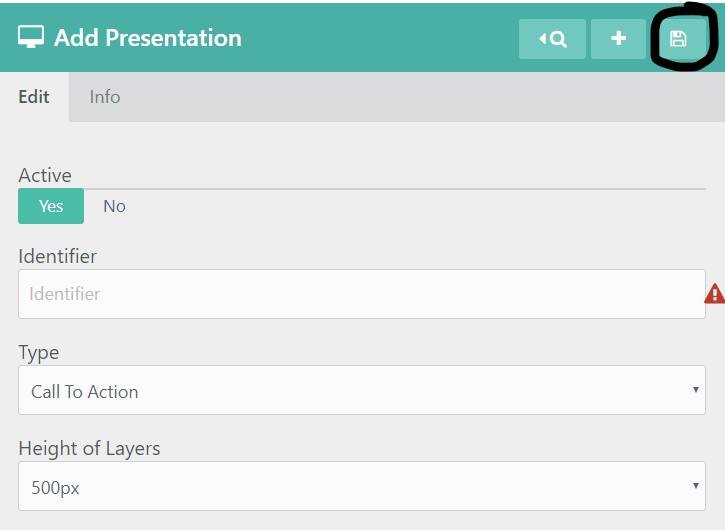
At this point, you will save your new presentation by selecting the Save Icon:
Your next step in creating your Presentation will be to add the layers.
Once you Presentation is created you will be automatically be redirected to the Layers section of the Add Presentation Page.
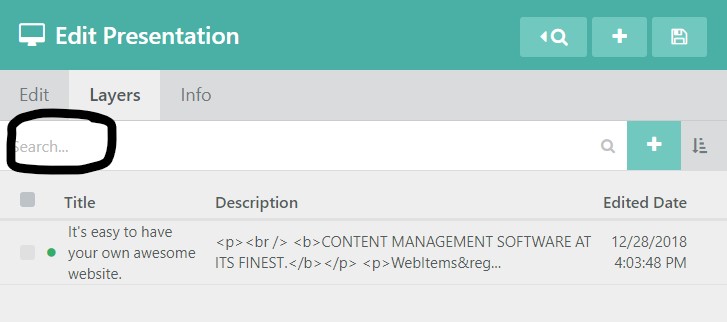
On this page you can search through your layers:
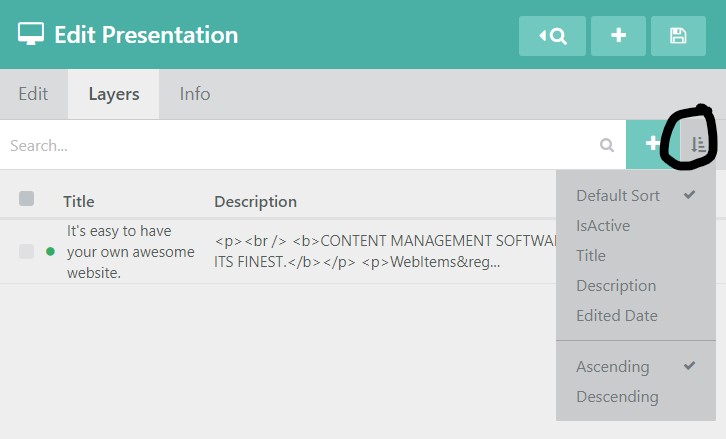
You have the option to sort the list by active status, title, description, or edited date; and in either an ascending or descending fashion:
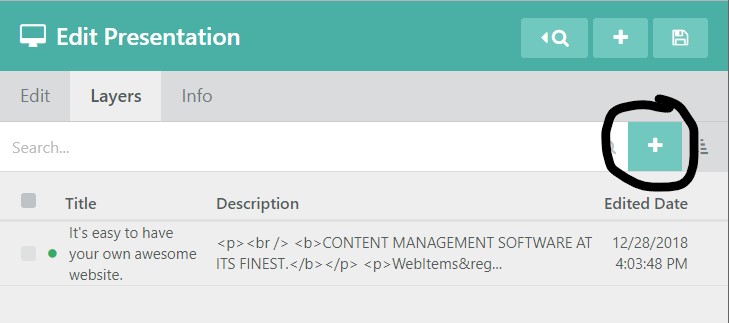
To add a new layer you will click on the "+" button to the right of the search bar:
This will take you to the Add Presentation Layer Page.
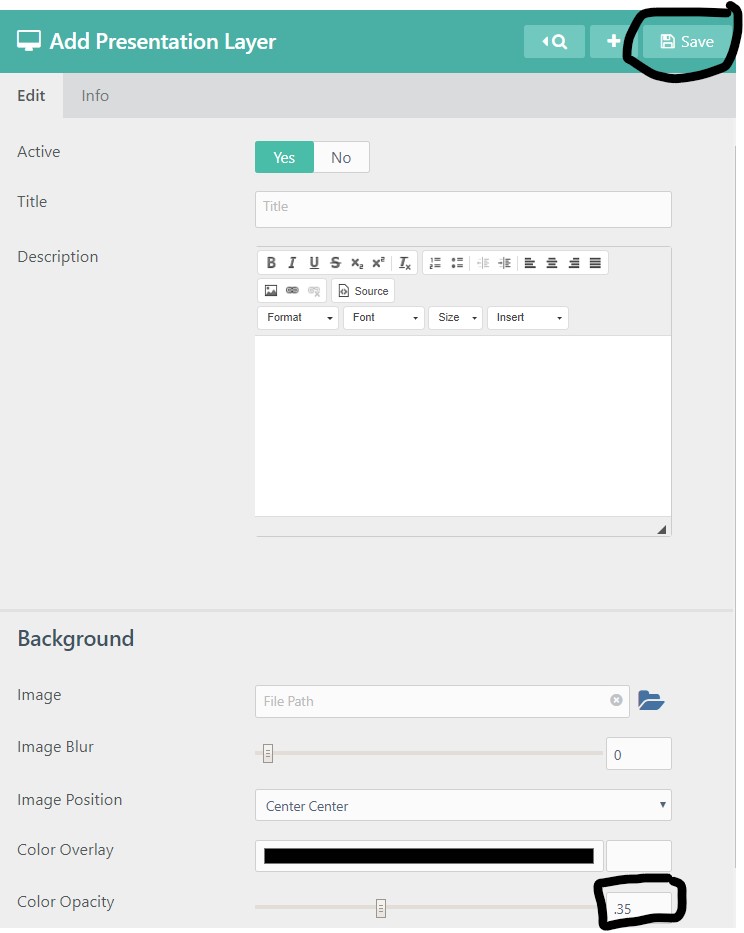
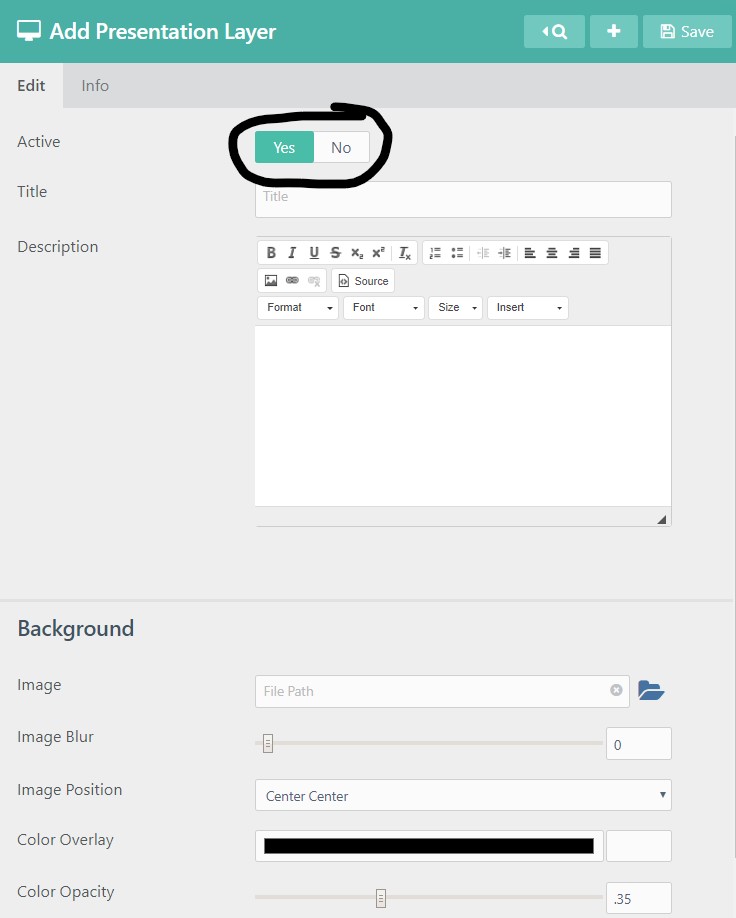
The Add Presentation Layer Page will have many elements. On this page you can turn the active status of this content off or on:
You will enter a title for your Presentation Layer:
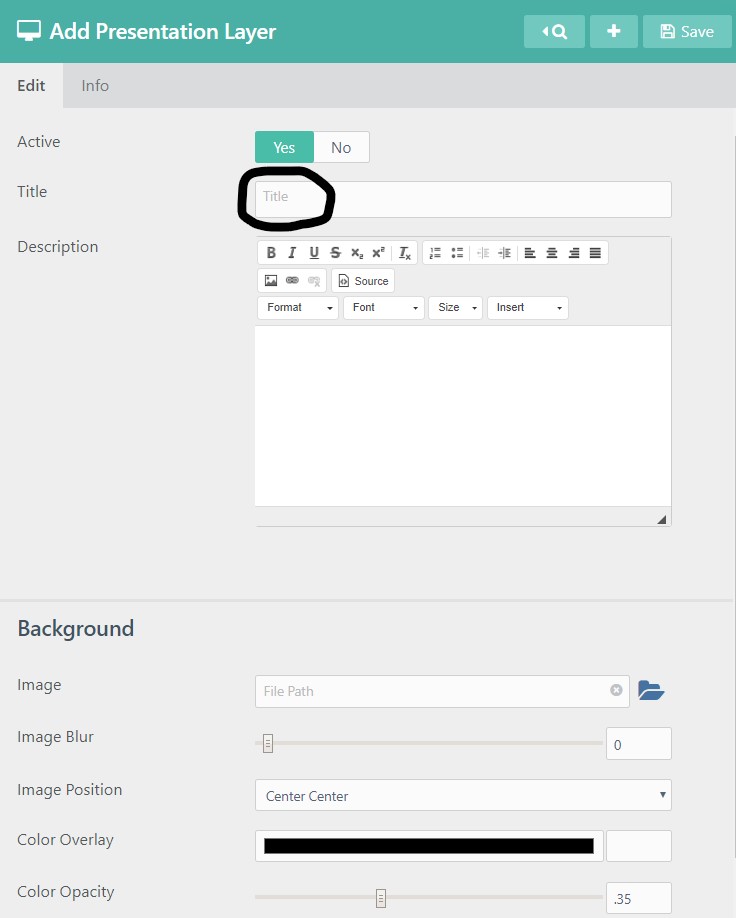
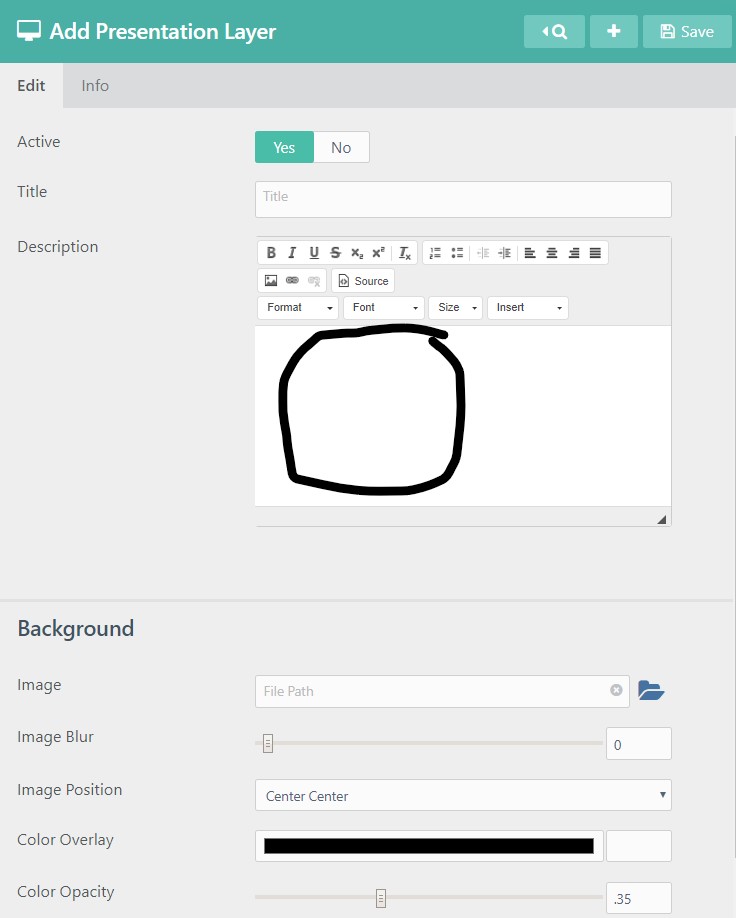
You can also enter a Description that would be displayed with your Presentation Layer:
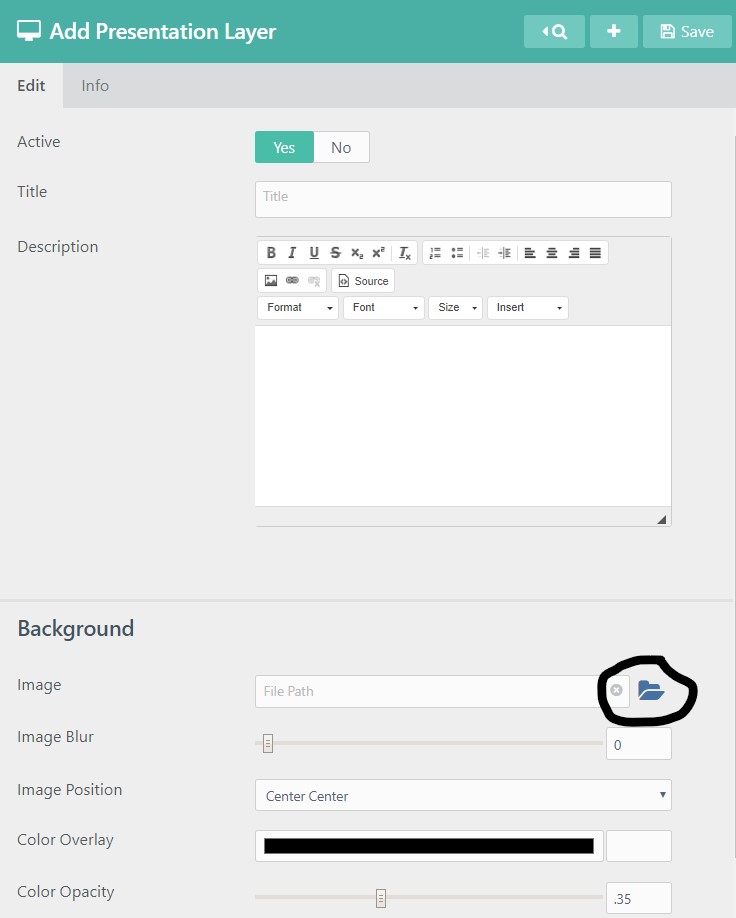
You will then select a Background Image for your layer by clicking on the blue folder icon to the right of the Image field:
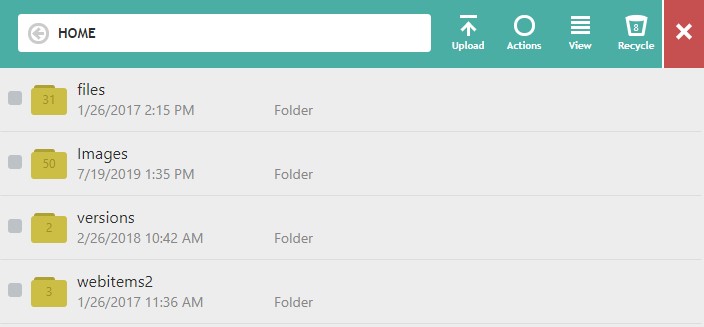
This will take you to your File Explorer where you can choose the picture that you want to upload:
You can choose how clearly or blurred you would like for your image to show:
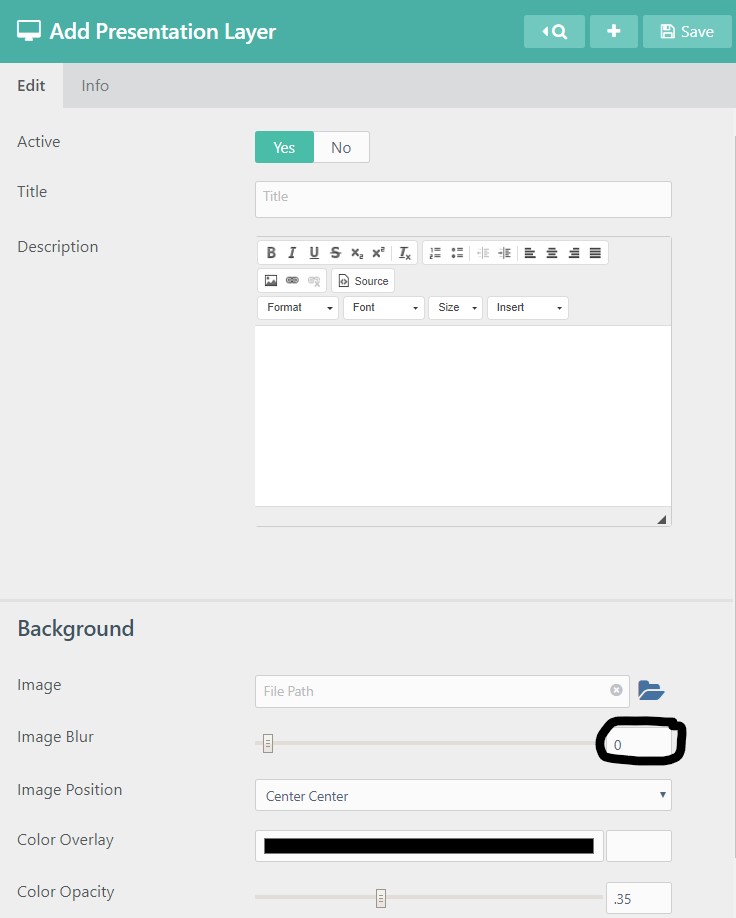
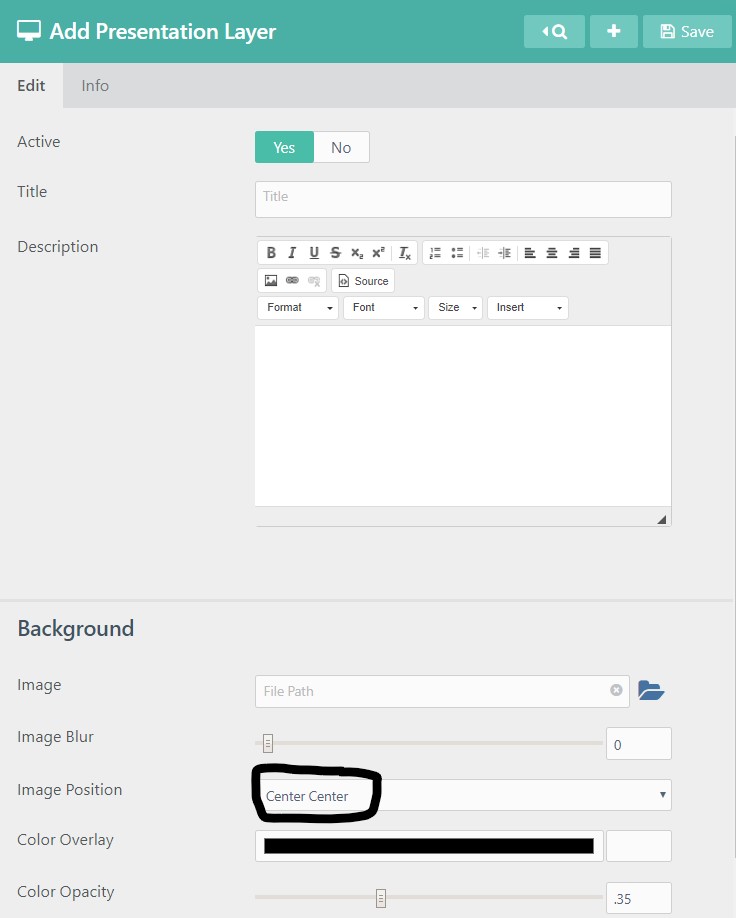
As well as the positioning for the Image:
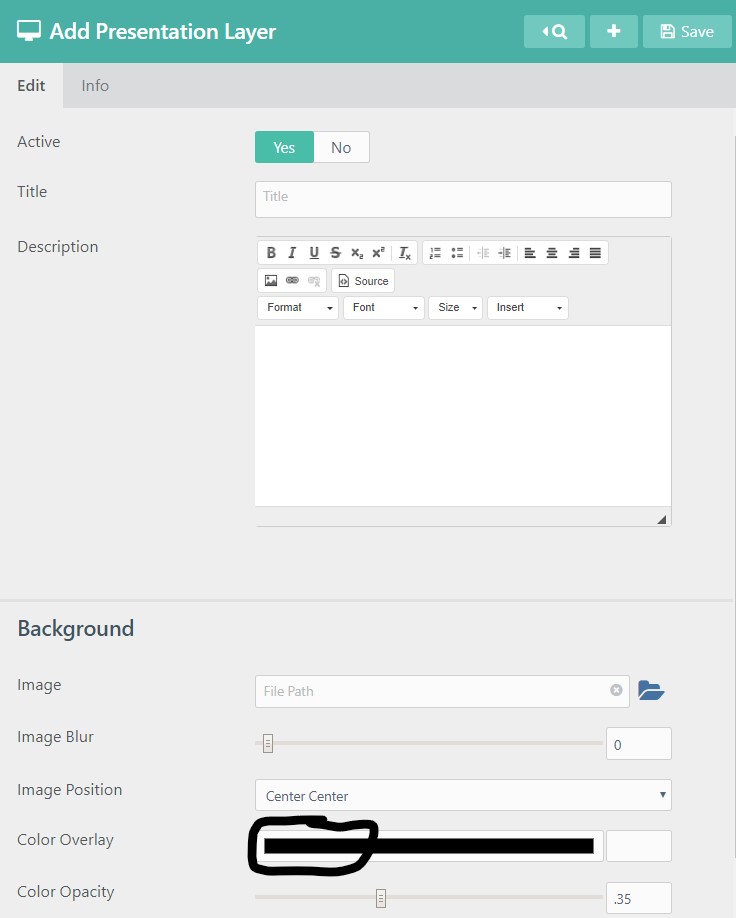
You can also choose a Color Overlay for your layer:
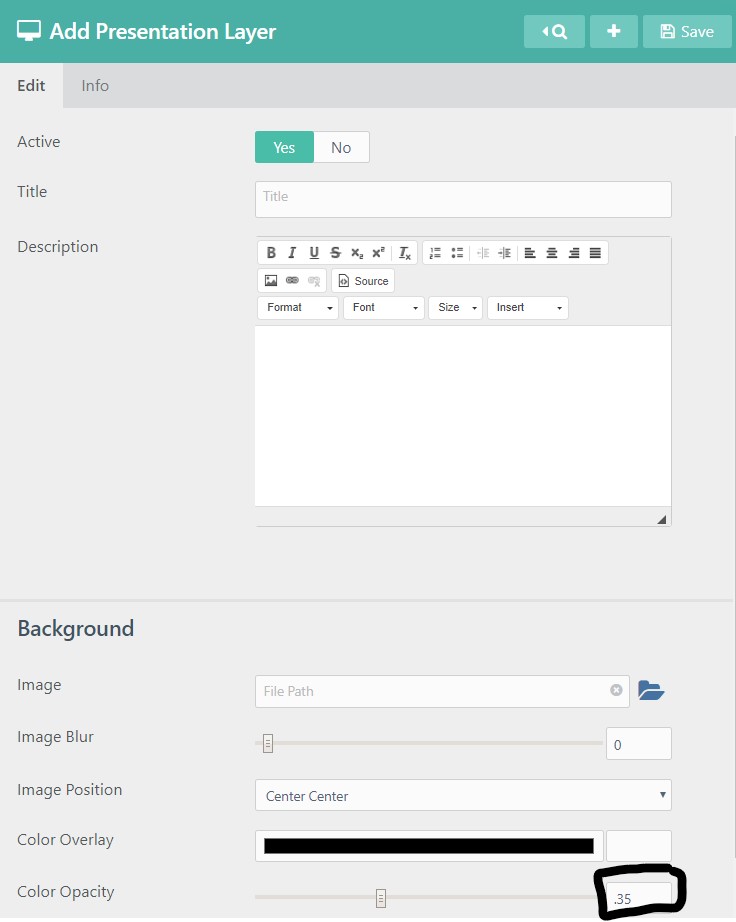
As well as how opaque you would like for the Color Overlay to appear:
Don't forget to save your work by clicking on the Save icon in the rop right hand corner:
